Introduction
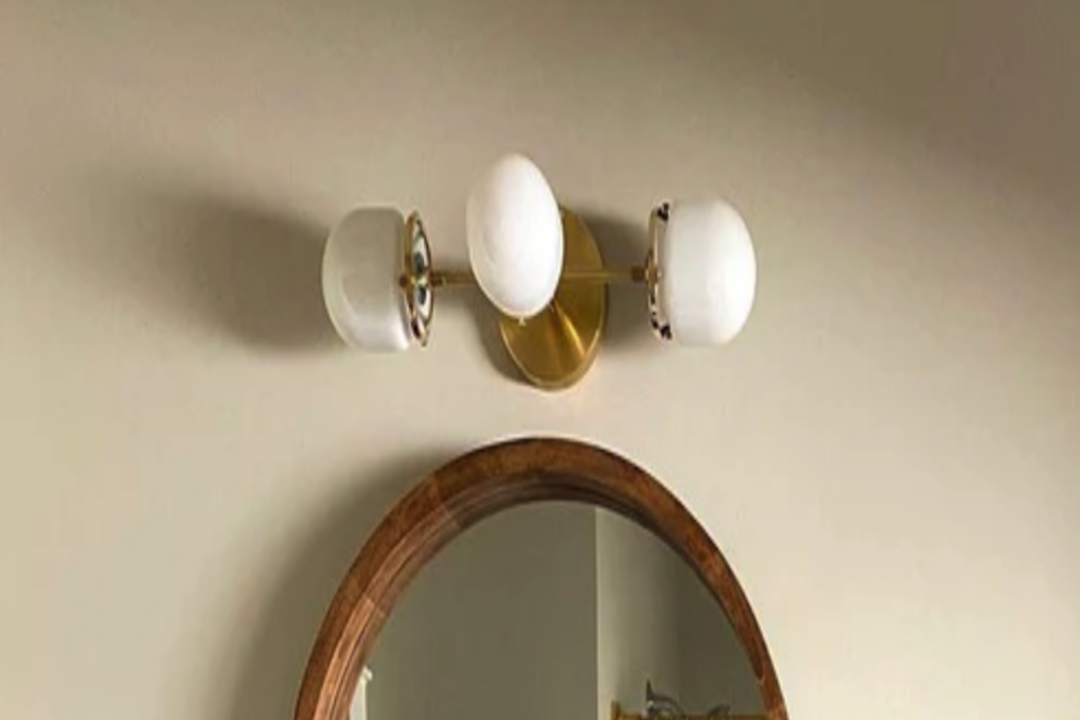
Are you tired of the same old chandeliers hanging in your home? If so, why not try creating an elegant and unique light bulb chandelier hanging to spruce up your home décor? In this guide, we will provide you with step-by-step instructions on how to create a DIY light bulb chandelier hanging that will not only provide proper lighting but also serve as a stylish focal point in your home.
Benefits of a Light Bulb Chandelier Hanging
A light bulb chandelier hanging provides several benefits, including:
Cost-Effective:
Creating a DIY light bulb chandelier hanging is cost-effective than purchasing a sophisticated chandelier.
Customizable:
You can customize your light bulb chandelier hanging to fit your style, décor and budget.
Easy to Maintain:
Maintaining a light bulb chandelier hanging is easy since they don’t have bulbs that require replacement as often as traditional chandeliers.
What You’ll Need
To create a light bulb chandelier hanging, you will need the following:
Materials:
– Pendant light kit with multiple sockets
– Screws and screwdriver
– Ceiling hooks
– Light bulbs
– Sturdy string or metal chain
– Wire cutters and needle-nose pliers
Tools:
– Drill
– Stepladder
– Measuring tape
– Pencil
Step-by-Step Guide
Step 1: Choose a Location.
Choose a location for your light bulb chandelier hanging. Once you decide on a location, measure the ceiling’s height and mark the desired placement with a pencil.
Step 2: Install Ceiling Hooks.
Using your drill and screws, install ceiling hooks to the marked locations on your ceiling. Ensure that the hooks are stable and secure enough to hold the weight of your light bulb chandelier hanging.
Step 3: Install Pendant Light Kit.
Install the pendant light kit to the ceiling hooks. Use the instructions included in the kit to ensure proper installation.
Step 4: Attach Sockets to the Pendant Light Kit.
Attach the sockets to the pendant light kit. Ensure that each socket is evenly spaced from each other for a balanced look.
Step 5: Cut and Assemble Chain.
Using wire cutters and needle-nose pliers, cut and assemble your metal chain into the desired length to hang your light bulb chandelier.
Step 6: Attach Light Bulbs.
Attach the light bulbs to each socket. Choose light bulbs based on your preference in color temperature, brightness, and style.
Step 7: Hang the Chandelier.
Attach the metal chain to the pendant light kit, and hang the chandelier from the ceiling hooks.